
Customize Nurtures for the Buyers Journey With These 3 Engagement Studio Features

Summarize this insights post with:
Welcome to the second installment of our Pardot Engagement Studio Vlog Series. The goal of this vlog series is to help you understand the basics of an email drip campaign and the improvements that Pardot’s Engagement Studio from Salesforce makes to the process. This video will demonstrate the three main features of Engagement Studio campaigns, and how to incorporate them into your drip programs to enhance and personalize content tailored to your buyer’s journey. Watch to learn how you can use these tools to easily identify and provide qualified leads to the sales team while guiding prospects through the customer journey.
Video Transcript
Welcome to the second edition of our Engagement Studio Vlog Series. If you’re new to the series, my name is Guido, and I’m an Account Strategist at SmartAcre®, a lead and demand generation marketing agency. In today’s episode, I’ll be going over actions, triggers, and rules while building a simple engagement studio program.
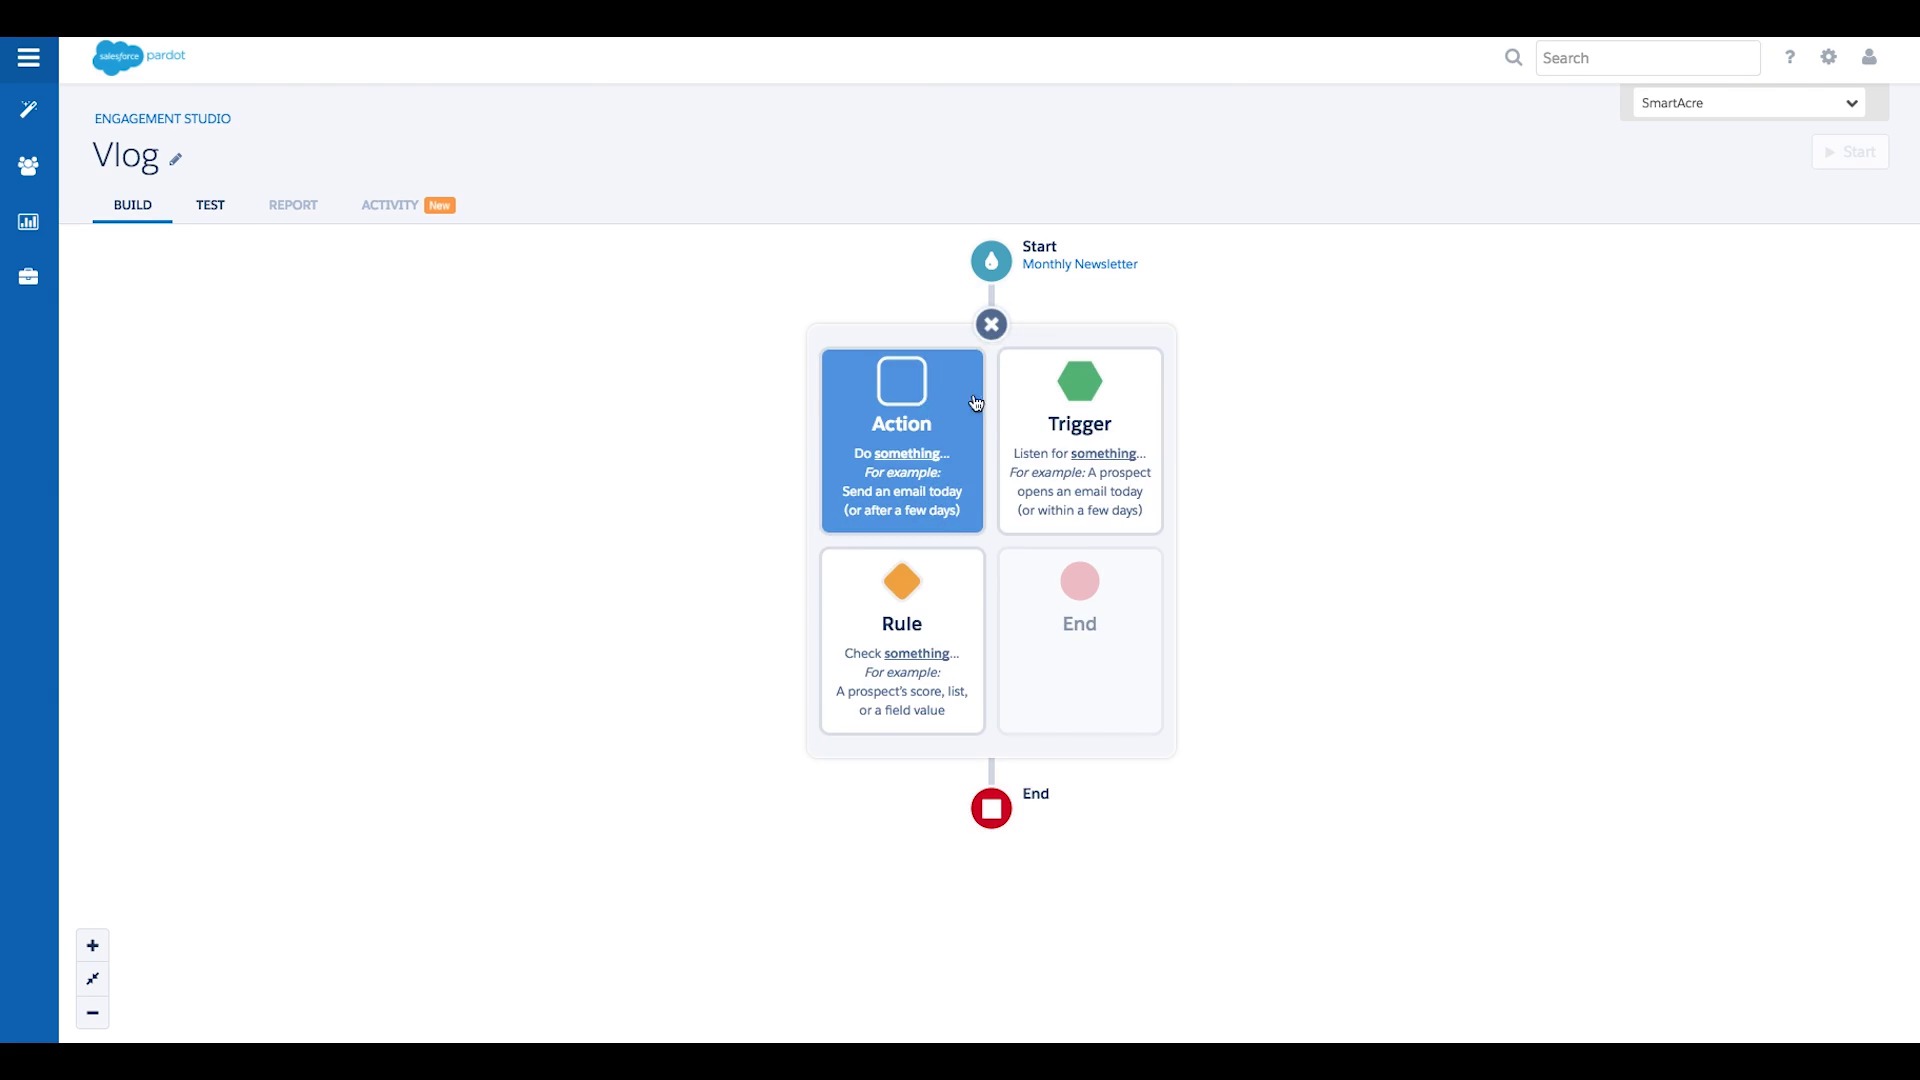
I’ll start off with actions, which allow you to do something in engagement studio. To create an action, you’ll click on this little plus sign and select “action“. This will pull up a list of available actions including send an email, assign a prospect to a user, add a prospect to a list, change a prospect field value and so on.
So let’s say you want to use an action to send an email. First, select “send email“, and then choose the email template you want to use. You’ll then be asked to select when you want this action to take place. In this example let’s pretend you want to wait three days before sending the email out. Now that the wait step is in place, click “save” and your action has been added. Pretty simple right?
Now that we have your action setup, let’s add a trigger. To add a trigger we will have to click on the plus sign beneath our action and select “trigger“. This will enable us to listen for something, for example, has a file been downloaded, has an email been clicked, or has a form been completed.
In this case, let’s say we want to see if the email we sent has been clicked. We can choose to see if any link has been clicked, or if a specific link has been clicked. This is great because if one link is more important than the rest, like a CTA, we can build the rest of our program based on this trigger.
Before finishing our trigger, we have to choose when we want it to be evaluated. You can evaluate triggers “up to” a maximum number of days, or after a set “wait” period. If we choose the up to option, this means that someone will move to the next step in our program immediately after clicking in our email, or once the maximum number of days has passed. This is very powerful because as a marketer, it allows us to accelerate prospects through the funnel as they complete the actions we want them to.
On the other hand, if we choose to wait, then none of the prospects will move to the next step in the program until after the wait period is over, no matter how soon they click. This can also be helpful. There are instances when it’s better to avoid inundating prospects with marketing materials in quick succession. In this case, let’s choose to evaluate up to a maximum of 2 days, click save, and our trigger is added.
Now that we have both an action and trigger built in our program, let’s add a rule. Rules allow us to check for something, like a prospect’s grade, list membership, campaign, or score. So let’s say at this point in our nurture, we want to notify the assigned user immediately if someone has clicked in the email and their grade is greater than a B.
First, we’ll add a rule, choose “grade“, “is greater than“, “B“. We will evaluate this rule immediately, and save it. Then we’ll add an action for any prospects who meet this criteria. So, to add an action on the right-hand path, select “notify user” then choose “assigned user“. “Immediately” is preselected, so we can just save our action and we’re done.
So there you have it, a pretty simple engagement studio program utilizing actions, triggers, and rules. By using these tools in conjunction, you can guide a prospect through the entire customer journey while identifying and passing off qualified leads to the sales team. I hope this episode gave you some ideas that you can apply to your marketing efforts. But, if you want to learn more about engagement studio, please check out the next vlog in this series and our blog post, 5 Ways Engagement Studio Will Impact Your B2B Marketing.