
Maximize your Pardot Engagement Studio QA Process

Summarize this insights post with:
Welcome to the third installment of our Pardot Engagement Studio Vlog Series. The goal of this vlog series is to help you understand the basics of drip programs and the improvements that Pardot’s Engagement Studio from Salesforce makes to the process. This video will demonstrate the testing and reporting features of Engagement Studio, and how to incorporate them into your QA process when building and measuring drip programs. Watch to learn how you can use these tools to ensure your programs are as impactful as possible.
Video Transcript
Hi everyone, and welcome to the third installation of our Pardot Engagement Studio vlog series. It’s been a while since our last installment, so before watching this video, feel free to click over to parts one and two.
My name is Kate Rossiter, and I’m an Inbound Marketing Associate at SmartAcre®, a lead and demand generation marketing agency. In today’s episode, I’ll be going over how to test your Engagement Studio program once it is built, along with the reporting features of Engagement Studio. Let’s start with testing. Testing should be a crucial part of your QA process for anything you build before turning it live. With Pardot’s Engagement Studio, you now have the ability to run tests and ensure that your program works as you intended.
- To test Engagement Programs, you must first ensure that your user permissions are set to Pardot Administrator or any Marketing role.
- Once that is in place, navigate to Engagement Studio, and select your program.
- From the program, click the Test tab.
- Notice that a pop-up appears on the right side of your screen. This is your Test Log. Use the log to restart a test, or to preview any of the assets that are in your program.
- Then, simply follow the prompts to move through the steps.
- Repeat this process as many times as you need.
We recommend testing your programs before you start them, going through each path based on your branching logic. Adjust any steps that don’t work the way you expected, and be sure that your program is perfect before you turn it on.
Once your Engagement Studio program is turned on, and contacts are running through the program, you are ready to report. Just like testing, reporting should be a part of your standard process for every campaign to ensure the programs you are building are impactful and yielding the results you expected.
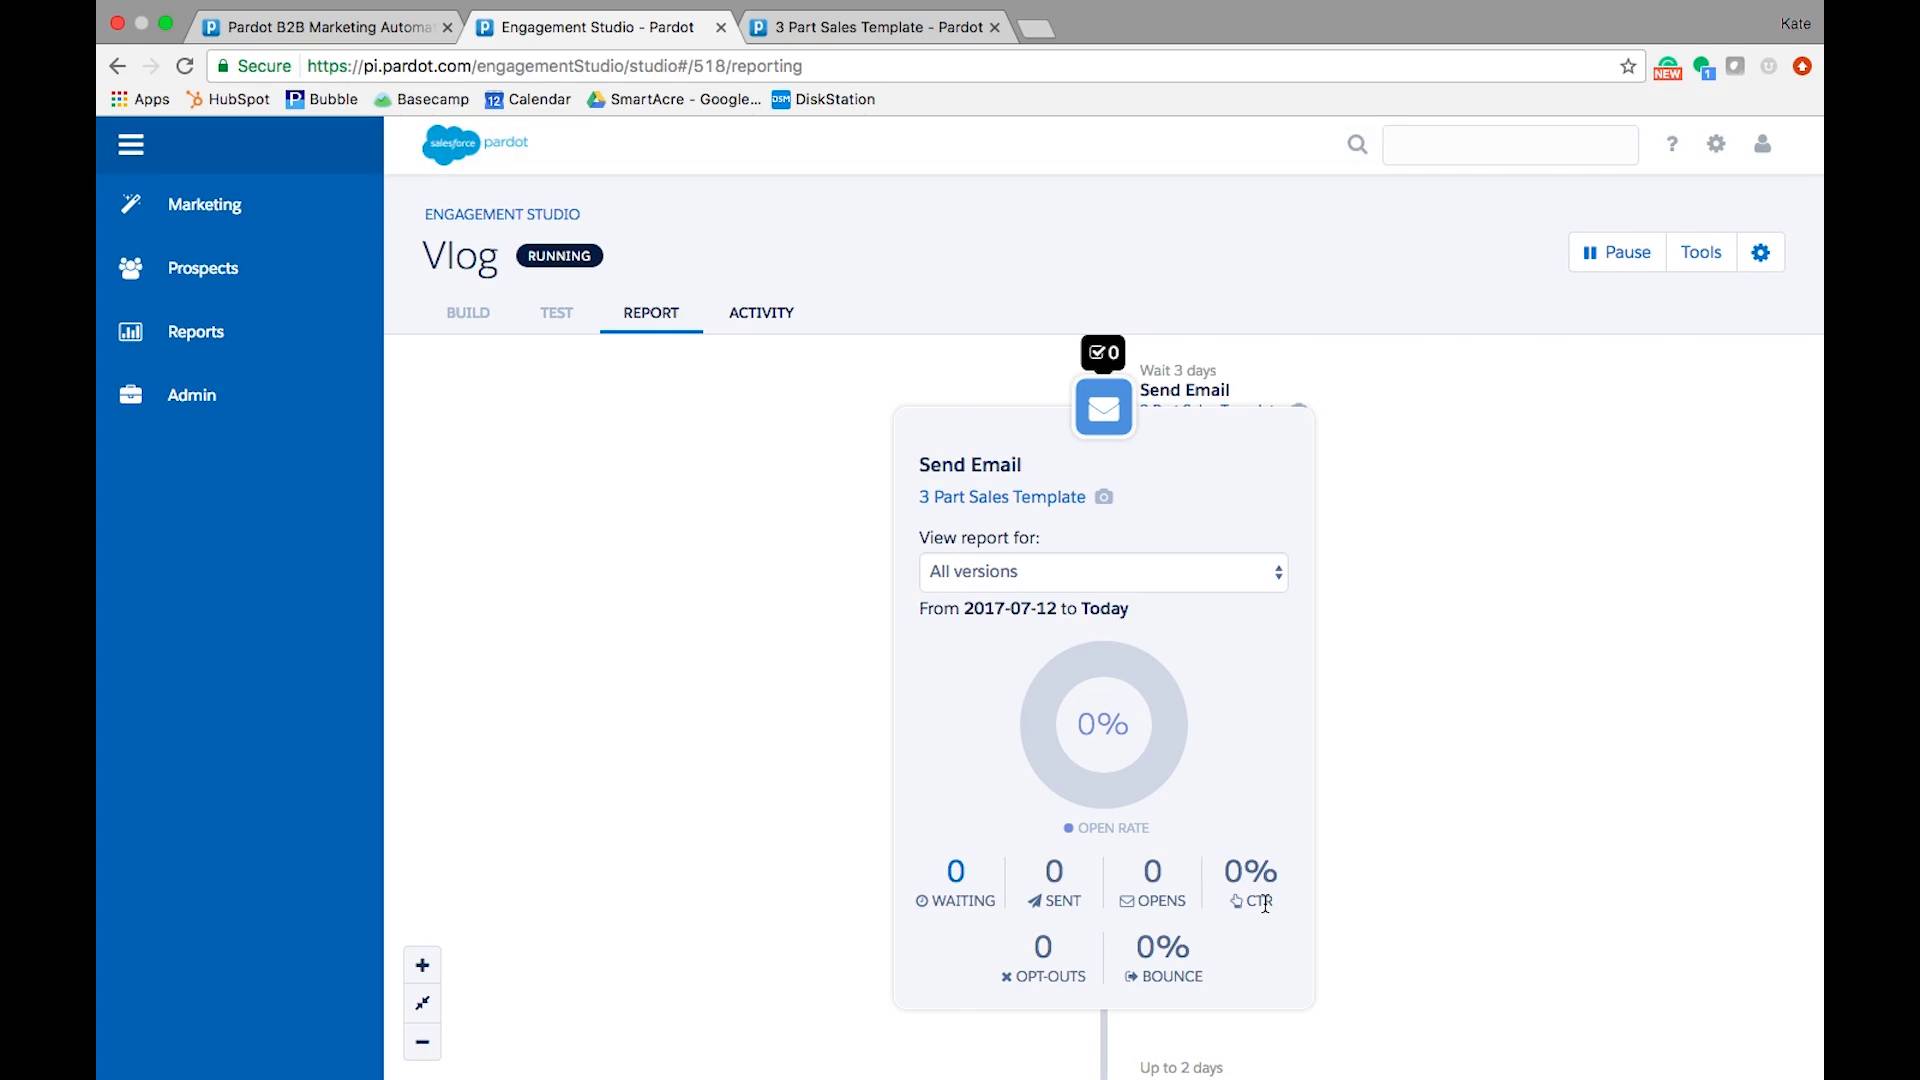
- To gauge how well your engagement program is nurturing your prospects, view program metrics in the Report tab of any running or paused program.
- In a report, each step has tooltip overlays that give high-level metrics.
- To access more detailed metrics, click the step to open its Report Card.
Remember, a good standard benchmark for open rate is 30%, and click-through rate should be around 5%. Making changes to subject lines, actual email content, sender name, and send timing could all have a quick impact on your metrics, so feel free to test what works best for your company, measuring as you go.
So, that’s it, a quick overview of testing and reporting capabilities within Pardot Engagement Studio. Make both of these a part of your routine every time you set up a program in Engagement Studio to ensure your programs are successful. I hope you enjoyed this installment of our Pardot vlog series, be sure to check out our previous vlogs if you haven’t already, and leave a comment letting us know what you’d like to see next!