
Using Salesforce Lightning Experience List Views

Summarize this insights post with:
Welcome to the second video of our Getting the Most from Salesforce Lightning Experience Series. The goal of this series is to help members of your sales and marketing teams using the Salesforce Sales Cloud become familiar with the new Lightning Experience. In case you missed it, the first video in this series showed you how to Get Started with using the Salesforce Lightning Experience.
This screencast shows you how to create and modify List Views in the new Salesforce Lightning Experience. This video will show you how to:
- Modify what data is shown, using filters
- Customize displayed columns
- Create and edit charts
Video Transcript
During this screencast, I will show you how to navigate and use the new lightning interface to create and edit lead views. If you want to change any of the view settings, simply go to the gear icon. Here you can create a new view, rename an existing view, make a view private or public. You can also edit list filters which determines what data shows. You can select which fields to display as well as delete views.
I’m going to go to the edit list filters next. In order to edit what data appears on your view, select the “edit list filters.” Once you click that, you’ll see the sidebar pop up here. You can also remove the sidebar by clicking the right arrow. You can also reopen it by hitting this funnel view right here. To add a new filter, simply hit “add a new filter.” Select one of the available fields from your lead. I’m going to hit “lead status” and click done. Then select one of the values, click new, hit done and then save it. Your new view will be updated based on the new criteria. You can also remove criteria by hitting the X button here. You can also remove all criteria. By adding and subtracting different filters you can get to exactly to the type of data you need.
In order to select which columns will be displayed in order, simply go to the gear icon here and select fields to display. Here you’ll see a list of available fields as well as the visible fields. To add a new field, simply hit the right arrow, and we will see it add to the list. To change the order, you press up or down arrows. To remove it, simply select the left arrow. Then hit save and any changes you made to the fields will be displayed here.
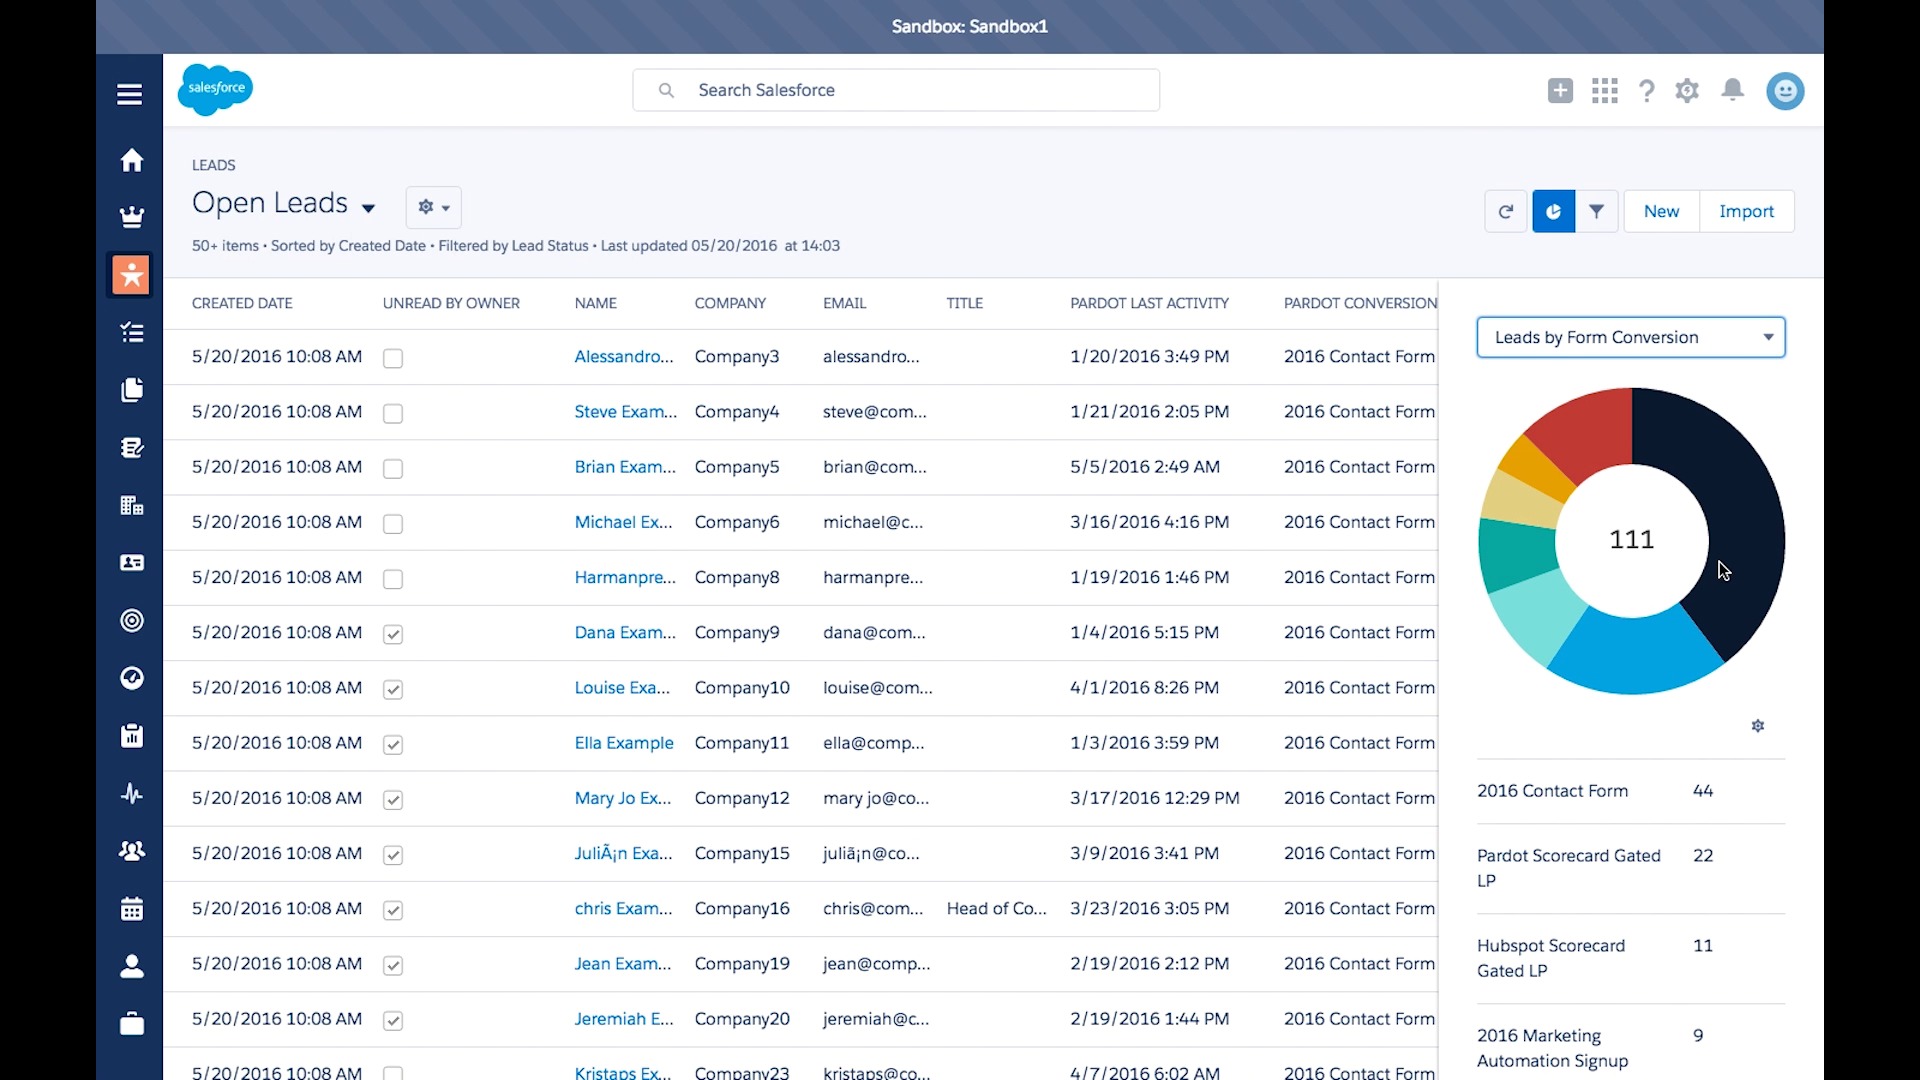
The last feature I want to show, is the ability to create charts. You can now add charts directly within views. This ability used to be limited to reports, but now you can create charts directly within the view settings. Simply click the chart icon here and you’ll see the chart sidebar pop up. By default, you’ll see the leads, by lead source, on the lead object. You can see the types of breakdowns of where those leads come from. Click the chart. Here, you can edit whether you want to see it as a horizontal bar, as a vertical bar, or change it back to a doughnut chart. You can also create new views and charts from here. So here’s an existing one we created, “leads by form conversion.” You can see here the types of forms that were attributed to the leads. You can view the settings, edit, or create a new chart from scratch. Under edit chart, you can change the name, you can determine what type of chart you want, and you can do an average sum or count.
This is the field that you want to aggregate by and this the field you want to group by. Simply hit save, and you can create all types of charts from within this interface. By simply collapsing or expanding icons, you can easily gain access to charts.
Thanks for watching this screencast. You should now know how to create and edit lead views using the new Lightning Experience. Make sure to check out getsmartacre.com for more helpful blogs and screencasts.
About the Writer

Eric McClatchy is SmartAcre’s marketing automation and sales enablement expert. He helps SmartAcre’s clients streamline their marketing and sales operations through automation and technology integrations. He has multiple certifications in HubSpot, Pardot, and Salesforce.